Showing posts with label kids. Show all posts

Friday, 13 February 2015

Essential Oil Rice Bags

Tomorrow is Love Day!

One of my friends posted a picture of these little rice bags that she made for her kids for Valentine's Day...I thought they were so cute that I had to whip up something and share it with you! They were easy to make and used things I had on hand.

It was a huge hit, Lady said, "awe momma, you're the bestest momma ever". Who gets tired of hearing that!?


Supplies needed: fabric (I used some leftover fabric from their baby blankets but a nice flannel or thick cotton would work well), needle & thread, rice, and essential oils.

I cut 2 matching pieces of fabric into a heart (make any shape you want), using small stitches, sew the "wrong" sides together, leaving about 2 cm to pull the fabric through. Pull the fabric through the opening to reveal the finished heart. 

In a bowl or mason jar, mix rice & 5-10 drops of your favourite essential oil (I used 1 cup of rice for each of my bags and 5 drops of oil). With a funnel, pour the rice into the opening of the bag. Sew up the opening of the bag. 

Freeze for a great alternative to an ice pack for ouchies or heat in the microwave for 1-2 minutes for a nice calming warmth for bedtime or sore muscles. 

The essential oil you choose will provide added benefit - promote relaxation with lavender or a calming blend or help with breathing by using eucalyptus or a respiratory blend.  Other great options could include wild orange, peppermint, citrus blend, a balancing blend or a sleep blend. I used Doterra's Serenity for mine because I absolutely love the calming aroma.

This project took me about 10 minutes to make and I hand stitched the hearts. 

My happy children packed them off to bed with them and are sleeping soundly as I write!

~Adel~

Saturday, 25 October 2014

Natural Cough Candies for Kids (Happy Throat Pops)

Cough, cough, cough. Sneeze, drip, drip, drip. Mommy, I have "BOOGERS"!

Ugg. I am tired of the non-stop cold that seems to circulate around my house in the winter, anyone else with me? It starts a few days after school begins and ends a few days after they finish. Kids and germs - yuck. 

I've scoured my local pharmacies many times late at night trying to find something I can give my kids, but there's almost nothing for kids under 6. Seriously, why is it so hard for a company to come up with a safe solution on a stick so our kids have something to soothe a sore throat?

Well nothing commercial seems to exist, so I decided to make my own (plus then I get to make them with ingredients I want my kids to have). 


Happy Throat Pops

4 bags Lemon & Ginger Tea
1 cup Hot Water
2 cups Honey* or Agave (you can also use sugar)
1 Lemon, Juice and grated peel
4 drops Lemon Essential Oils**
candy thermometer (or skills at using the candy test with cold water)
popsicle sticks
Popsicle molds

(*Do not give honey to children under 1 year of age. **Please make sure your essential oils are safe for ingestion, Click here for my recommendation.) 

Brew a strong cup of Lemon & Ginger tea using hot water and 4 tea bags. Let sit for about 15 minutes before beginning to make your pops. In a large pot, add tea, honey, and the juice/grated peel of 1 lemon. Stir until mixture comes to a boil, stop stirring and bring mixture to 150C/300F or Hard Crack Stage (this takes a while as the water boils off). Let cool a bit until mixture starts to thicken and stir in 4 drops of Lemon Essential Oils. Pour into oiled (cooking spray works well) candy molds (or make your own with cornstarch or confectioners sugar) and insert sticks. Let cool until fully hardened then remove from molds.

Happy throats, Happy kids, Happy Mom.

It's nice to finally have a natural solution for the cold & flu season.

~Adel~

Monday, 20 October 2014

Halloween Sparkle Slime


It was raining cats and dogs today...well not really, but I'm pretty sure the sky was falling. We were not going out for any reason, time to pull out the inner creative mamma and find something fun to do.

Lady & Bug & I decided to make little gifts for their preschool classmates for halloween treat bags instead of sending candy along. If you're 4, what could be better than getting a little container of slime?

So we searched Pinterest and I tried out a bunch of recipes that didn't quite work and we ended up adjusting a few to make the right consistency.

So here's the recipe we used, it made it a bit less stringy and more solid, which was exactly what I was looking for (to keep things a little cleaner)!

Slime Recipe

1 cup Warm Water
1 tsp Borax
1/2 cup Liquid School Glue (we used clear)
1/2 cup Warm Water
Glitter
Food Colouring
2 separate containers for mixing (I used measuring cups)

In one container, combine 1 cup warm water and 1 tsp Borax, stir well until borax is dissolved.

In another container combine 1/2 cup of warm water and glue. Add any colour and glitter you want to the glue mixture. We made orange with 2 drops of red food colour and 7 drops of yellow along with 1 tsp of glitter and mixed well.

Pour water/borax container into glue/colour/glitter mixture. Stir until the mixture starts to become thick and gloopy.

Pour the extra water out and squeeze the slime a bit until it becomes dry.


Lady wasn't so interested in helping so Bug and I worked on it together.


Oh and look who decided to join in on the fun...


And after an hour of making slime snakes we finally finished our task.


Voila....little containers of orange halloween sparkle slime.

~Adel~

Thursday, 18 September 2014

Goat's Pride Dairy

With our public schools on strike, we've been trying to find ways to keep all of our children entertained and educated (and us moms sane!), so a group of us have been working together to find places that will give us educational tours. 

This time we went to Goat's Pride Dairy in Abbotsford, BC. I'd post their website, but I haven't been able to find one! It's in the northwest part of Abbotsford on Olund Road, nestled in the hills near the fraser river. We drove down tiny farming roads to find this gem.


Nothing is more exciting to me than food & farm related field trips because that's what I love, local people putting their heart and soul into making beautiful things, especially things that taste delicious!


This wasn't just fun for me, it was fun for Lady & Bug and their friends to visit a farm, see how animals live, practice milking a goat, and discover how the things we eat are made (Bug is a huge cheese fan).


This was a real working farm, not a tourist destination, so it wasn't set up for taking beautiful pictures of the process. We peeked through fogged windows as the cheese maker stirred a huge pot, saw the milking area (but it wasn't milking time), made a goat craft, and played with the goats - who were huge fans of all the attention. A lovely little tour for our crew


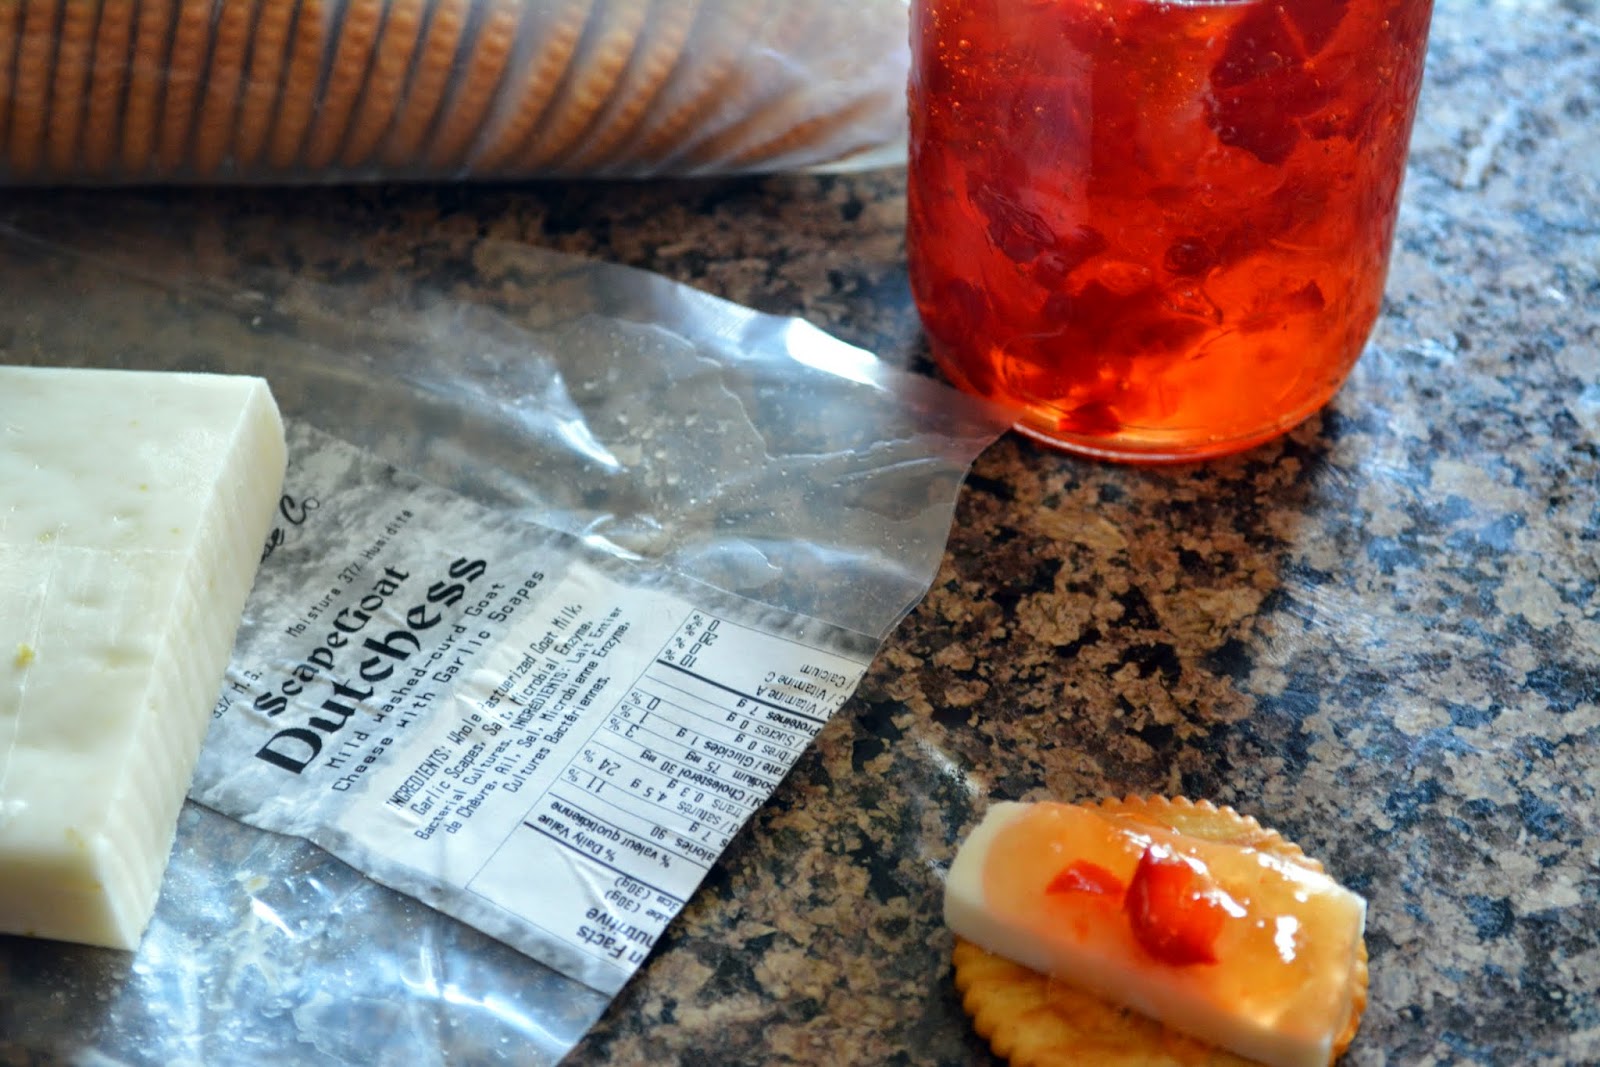
Best of all, we brought home some goat's milk to sample and some amazing cheese, which I happily munched on with my freshly made Pepper Jelly and a glass of wine!

Fun for all of us!

~Adel~

Sunday, 7 September 2014

Homemade Pepperoni Pizza Pockets

Daddy Ladybug loves all things convenience. He especially loves the food of his childhood, so today I decided to try my hand at Pizza Pockets.


Homemade Pepperoni Pizza Pockets

2 1/2 cups Flour
1/2 tsp Salt
2/3 cups Regular or Butter Flavoured Shortening
1/2 cup Cold Water (more or less as needed)
1 cup Pizza Sauce, divided in 2 (make your own!)
1/2 cup Pizza Pepperoni, chopped in small chunks
1/2 cup Mozzarella Cheese, shredded
1/4 cup Parmesan Cheese
1 tsp Italian Seasoning
1 egg, beaten

Make pastry crust by mixing flour and salt in a bowl. Cut in shortening until it is the consistency of oatmeal and slowly add cold water 1 Tbsp at a time, mixing with hands, until the dough sticks together but not sticky. Roll out to about 1/4" thickness and cut 5" circles. Should make about 12 circles.

In a separate bowl, add 1/2 cup of pizza sauce to bowl, saving remaining sauce for dipping. Mix in pepperoni, mozzarella, parmesan and seasoning.

Spoon 1 Tbsp of filling into the middle of each circle, fold in half and crimp edges together with a fork, fingers, or a pastry pocket maker, ensuring edges are well sealed. (note: It's easy to want to overfill, but I've learned that adding more than a Tbsp of filling makes it run out or be difficult to seal well

Place filled pockets on a greased baking sheet and brush tops with beaten egg. Bake for 20 minutes at 375F until tops start to become golden.

Heat remaining 1/2 cup of pizza sauce and serve on the side as a dip.

A great homemade lunch option, or make a double or triple batch and freeze partially cooked (about 15 minutes) and cook in the microwave to heat up for a quick snack. Great for kids, hungry teens, and Daddy Ladybug's post-hockey starvation!

~Adel~


Wednesday, 6 August 2014

Cherry Cola Cooler

I love cherry coke so when I see an easy dessert that claims to be just like it, I have to try it out! Cherry Cola Coolers (Kraft).They weren't lying. I don't have pretty cupware like they do, but here's my attempt at something delicious and easy, a perfect sunny afternoon dessert. Next time I'm going to make a double batch and fill those cups up! It really tastes like cherry cola, jello with a little fizz! 


1 cup Cola
1 cup Boiling Water
1 package Cherry Flavoured Jelly Powder
Pre-made sweetened Whip Cream (they called for cool whip...I'd rather have the real thing)
Fresh Cherries

In a bowl, add cola. In a separate bowl, mix jelly powder and boiling water. Pour into bowl and mix well with cola (important not to do it the other way around or you will get LOTS of foam). Pour into serving dishes and let cool in a fridge for about 1 hour before serving. Top with whip cream and cherries.

(makes 4 servings)

My version of Kraft's "What's Cooking" Summer '14 recipe - Cherry Cola Coolers


YUMMY!

~Adel~

Wednesday, 25 June 2014

Campbell's Gold Honey Farm & Meadery

Earlier this spring I made a list of 100+ things to do with kids in my local area and we are slowly working our way through the list. 

Today we tried something new along with a group of friends - we went Campbell's Gold Honey Farm & Meadery in Abbotsford, BC.

What a great experience, so I thought I'd share for others out there who might be curious or just looking for a fun thing to do! 


Judy and Mike from Campbell's Gold, taught us about the different bees in the hive and what each one does. 


They answered the million questions of the mostly preschool aged group and even (mostly) kept the attention of 13 kids under 7 - amazing!

We built hives... 


...Tasted honey...


...visited the hives...


...and stuck our fingers in the honeycomb...


...searched for the queen...


(The queen has a green dot! Can you see it?)


...and did our bee dance with the "queen bee".


Lady and Bug had a great time learning about bees and found out that they don't really like honey, but had fun anyway! 

The $8 entrance fee for each person over 3 yrs seemed a bit pricy, but we each got a little honeybear full of their alfalfa honey (about a $4 value), so overall, not so bad. They do tours for groups of 5 or more if you book ahead. We also got information about a free family fun day in August that I think we might try to check out!

They also have many other honey and bee related products including Mead and other honey wine, which Daddy Ladybug and I are going to have to go back and try! 

~Adel~